


Attach
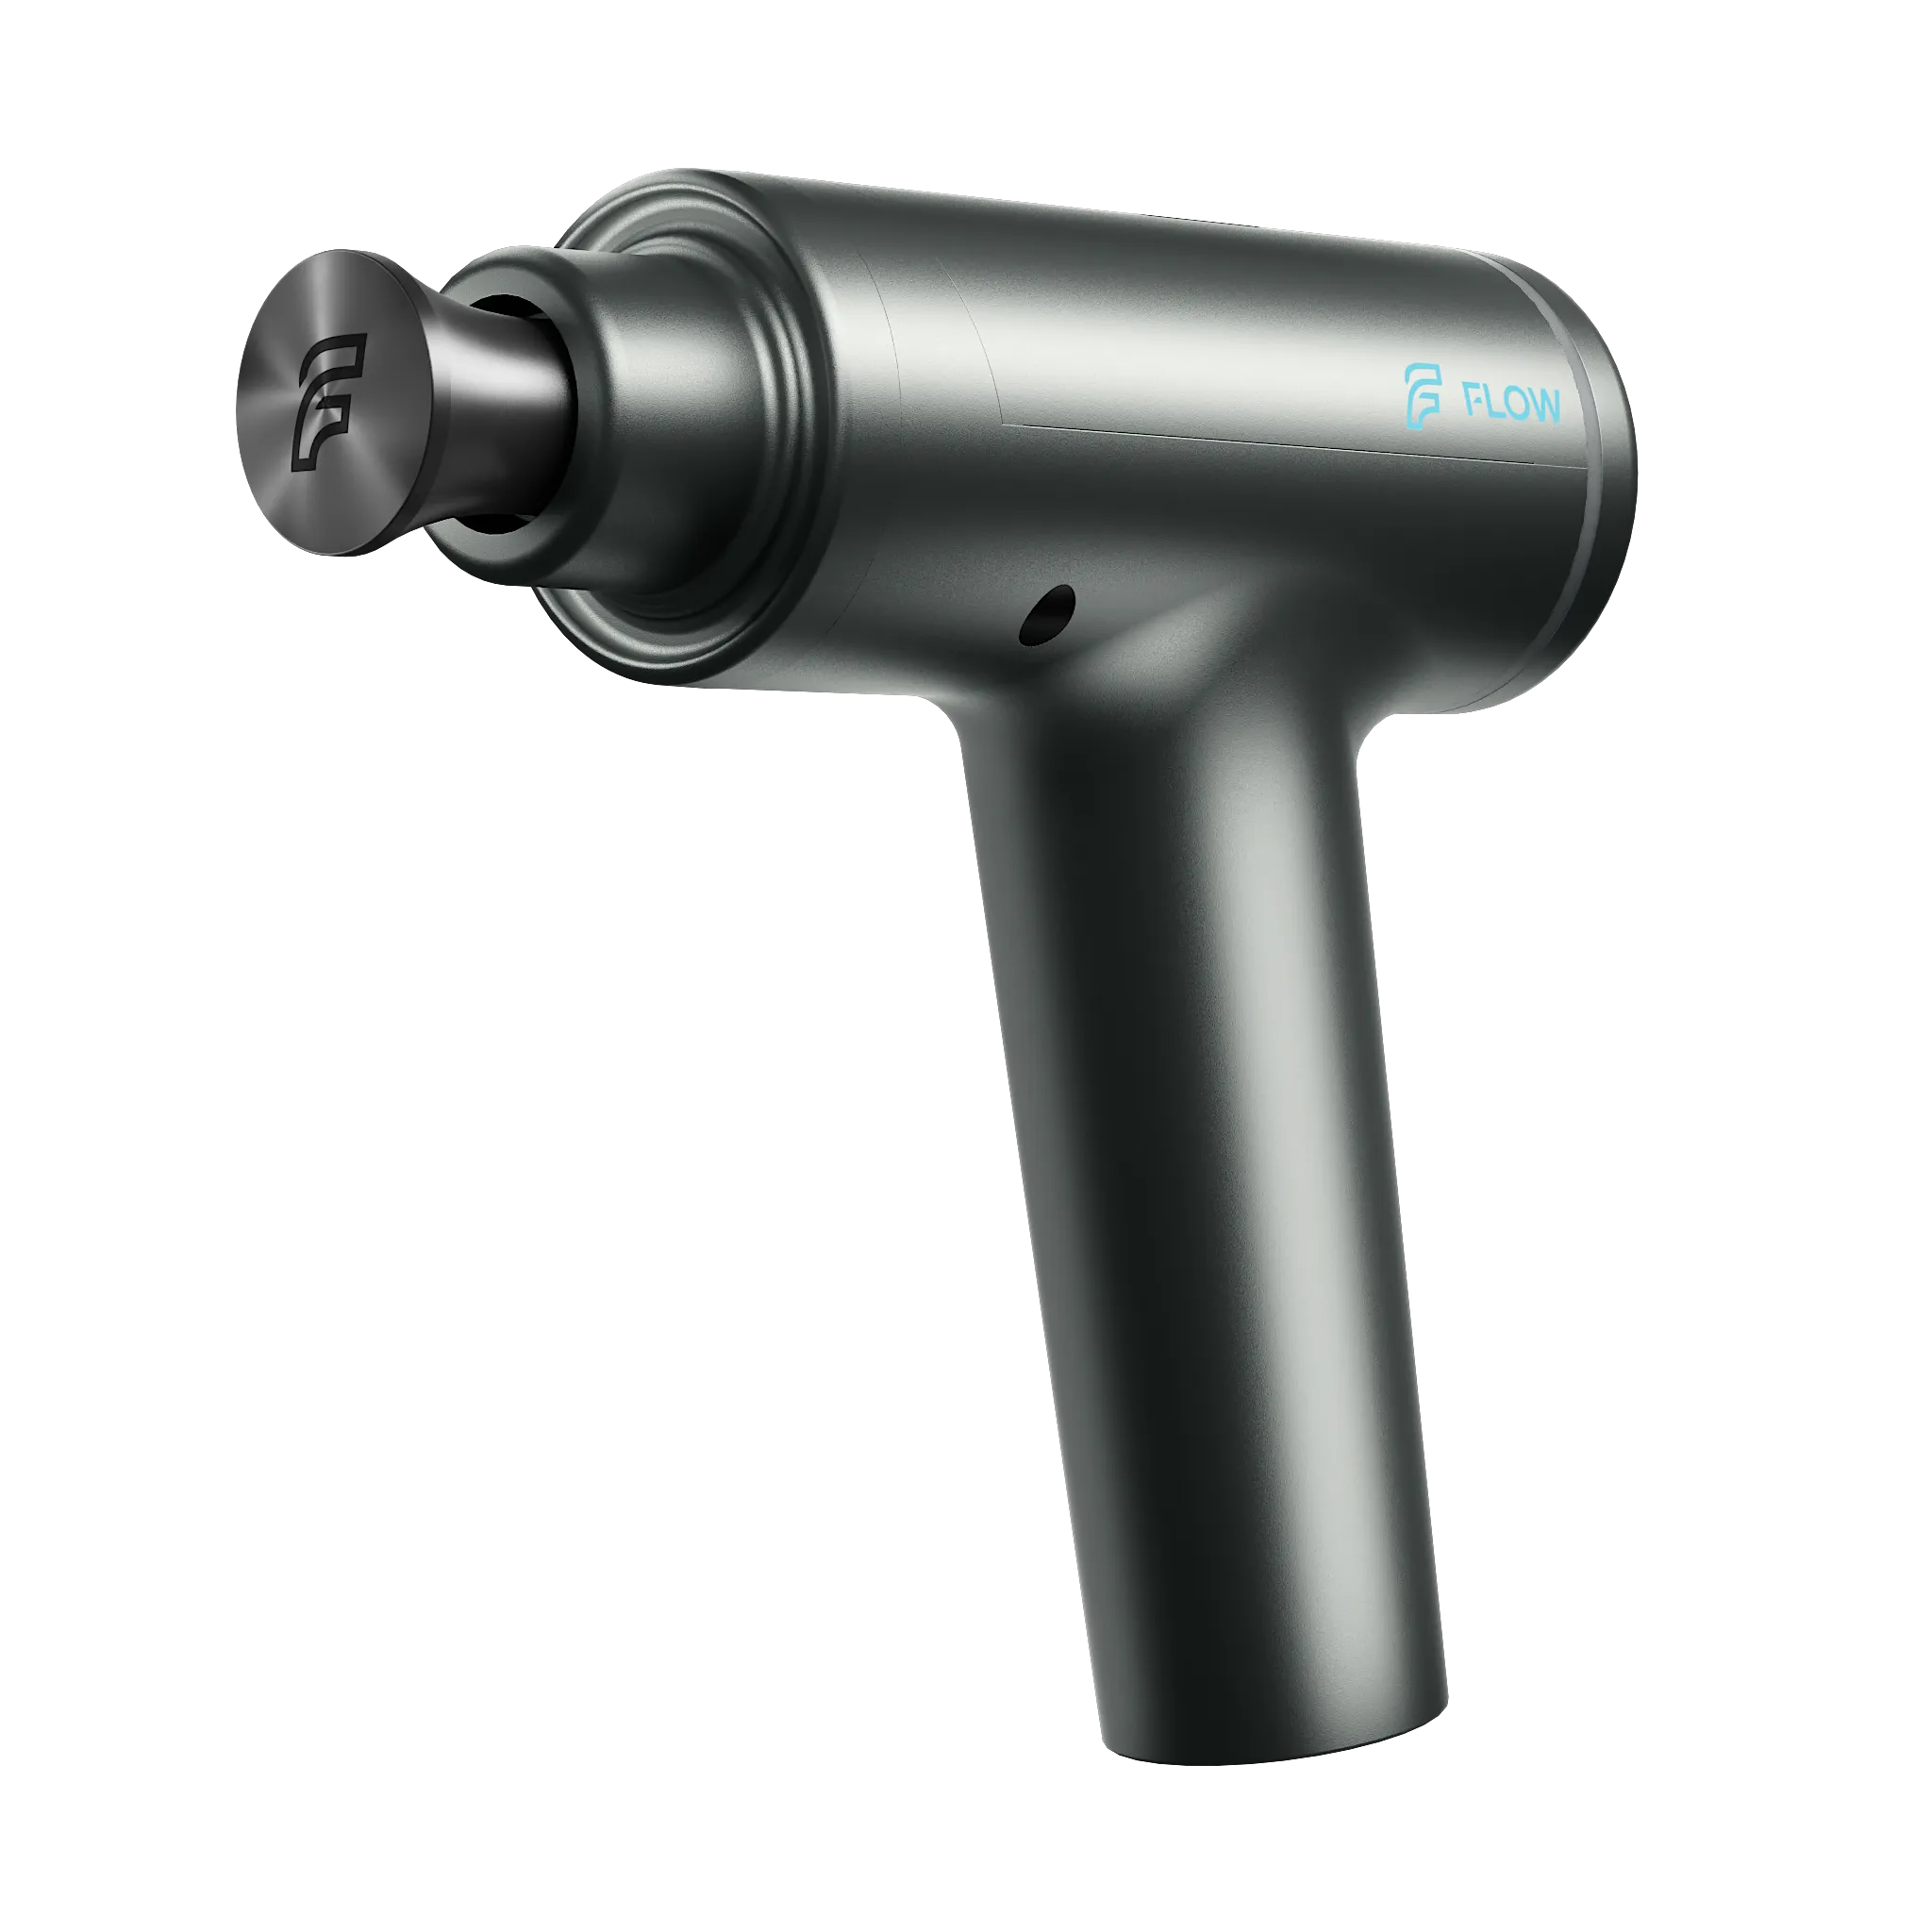
Remove your QuantumFlow attachment from its case and insert it directly into a PowerLink™ enabled* shaft/socket with a firm push.
Take care to ensure that it is inserted fully for stable power connectivity. You see see a short Red then Blue LED indication if PowerLink™ is active.

Click
Start by holding down the ☼ for Heat or ❆ for Cold button for two seconds and click three more times to switch through the modes; the fourth click will return to the lowest setting.
To turn off your QuantumFlow hold down either the ☼ or ❆ for two seconds. It will also powerdown automatically after 10 mins.

Connect
QuantumFlow was designed to be used on PowerLink™ enabled devices, however we've also included a PowerLink™ cable which connects at the bottom of the device.
Just plug the other end of the cable into a USB-A port such as a Powerbank or Laptop and follow the steps above.

Register
After registering your one year warranty, your QuantumFlow device will be covered for parts and labour for 1 year from the purchase date, subject to the warranty terms.
Registering your warranty ensures easy returns, repairs, or refunds.
Activate Warranty
exclusive perks, discounts & so much more
join the inside track
Insiders are the first ones to benefit from new product drops, exclusive discounts, and bonuses such as 20% off all orders & free shipping on every purchase. All this for only £14.99 a year.